In this post you can see the process we use to create the fuse box and safety switches that control the power supply to your home.
Fuse Box Blank Canvas:
We start with a blank power board made of a special non-conductive material to isolate the individual cables and begin distributing power to the various rooms of the house. The holes in the board are where the cables will be inserted and then connected to individual fuses.
Here you can see the next step in installing the safety switches. Safety switches and fuse boxes save lives and protect your home and its appliances from damage due to electrical surges, lightening strikes, or other power related emergencies. Most importantly, a safety switch will almost always prevent you from being badly electrocuted should you accidentally cross 2 wires.
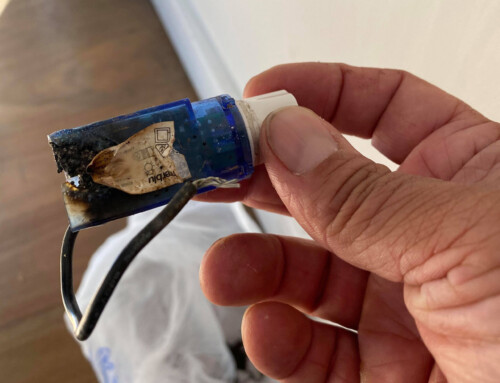
 An example of this is the classic fork in the toaster mistake.A long time ago, doing something like this could easily have caused you electrocution and possible death.
Having said that, don’t try this theory out, That’s my job. I’m only illustrating the concept and take no responsibility for you playing with electricity. Thanks to the invention of these ‘trip’ switches, now if you’re silly enough to stick a fork in a toaster you will probably get a big shock but the safety switch would prevent it from being life threatening.
Whats Behind Your Homes Fuse Box:
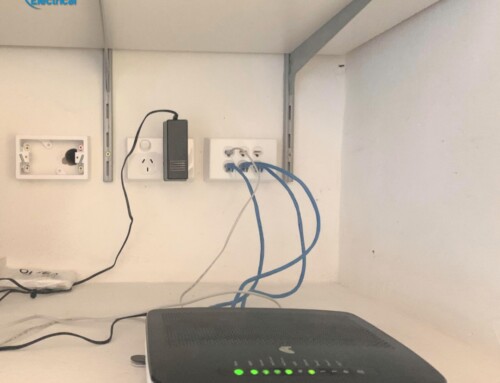
Here I have turned the new power board over to show you the various cabling being run through the back. This will be wall mounted and the home owner will never see this side of the board. The black and red cables are the positive and negative cables that form the left and right prong of any power outlet. The green and yellow cable is the ‘earth’ which grounds your home, its power and stabilizes the electricity running through your home.
Notice the careful labeling and consistent usage of color coding and labels etc.
All fuses wired and safety switches set to industry standards ensuring future electricians knows exactly what they are looking at.

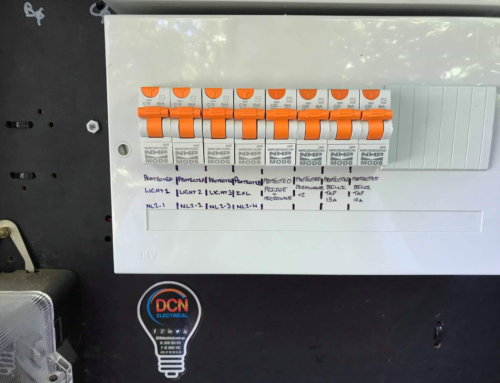
Power Board and Fuse Labeling
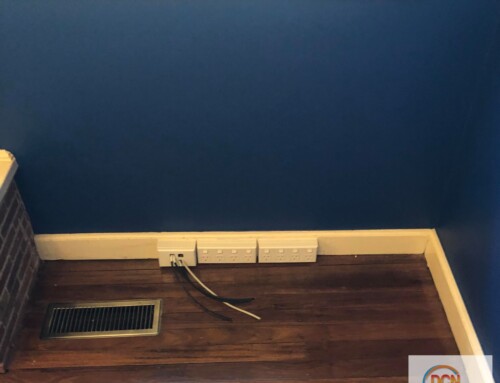
Here is the completed switch board ready for installation at our Sydney customers house tomorrow all we need to do is label everything. In the left corner you can see the ‘Main Service Fuses’. These fuses are heavy duty as this where the power supply from the cables running down your street actually meet your house. They are your first line of defense against anything unusual happening with the electricity supply before coming into your home such as power surges, outages or lightening strikes.
From these main fuses the power is taken to the Clipsal Safety Switches where it is divided up among the various area’s of the house. A typical separation for a family home might go as follows…
In this final picture you can see how we have clearly labeled and grouped everything for both electricians to understand but also your average home owner can

now flick a safety switch on the odd occasion when one might trip.
A typical power distribution might go as follows;
Clipsal safety switch 1: Upstairs lighting
Clipsal safety switch 2: Downstairs lighting
Clipsal safety switch 3: Powerpoints up stairs
Clipsal safety switch 4: Power points downstairs
Clipsal safety switch 5: kitchen appliances
Clipsal safety switch 6: Outdoor Lighting
A professional electrician will separate and group the various areas of the home to isolate any potential problems and ensure (for example) that if an outdoor light gets water in it and shorts out, it won’t cut the electricity to the rest of your home, only those items that were on the safety switch for the outdoor lighting. By doing this we build in redundancy and ensure your homes electrical safety and most of all reliability.